
Just me
Install one binary, start one local server, then launch your agent. The server binds to 127.0.0.1:49374, so nothing outside this machine can reach it and it needs no token.
Install the binary
mise downloads the release archive for your OS and chip and checks it against the published
.sha256file. It needs no Rust toolchain and no Docker.Terminal mise use -g github:akitaonrails/ai-memoryCreate the data directory and start the server
initonly creates the data directory.servehas to stay running, so give it its own terminal. It listens on this machine only and needs no token.Terminal ai-memory init ai-memory serve --transport http --bind 127.0.0.1:49374Launch your agent through it
The first launch of a harness installs its hooks and MCP entry if they are missing. Launching
claudedirectly keeps working afterwards.Terminal ai-memory run claude
Install the package
The
-binpackage is a prebuilt x86_64 or aarch64 binary. Both packages ship a user unit and a system unit for systemd.Terminal yay -S ai-memory-bin # prebuilt Linux x86_64/aarch64 binary yay -S ai-memory # builds from sourceCreate the data directory
Terminal mkdir -p ~/.config/ai-memory ~/.local/share/ai-memory ai-memory --data-dir ~/.local/share/ai-memory \ --config ~/.config/ai-memory/config.toml initStart the user service
It needs no sudo, and all state stays in your home directory. The services section covers the system unit and running after logout.
Terminal systemctl --user enable --now ai-memory.serviceLaunch your agent through it
Terminal ai-memory run claude
Download and extract
This archive is for Apple Silicon. On an Intel Mac, replace
aarch64withx86_64. A browser download needsxattr -d com.apple.quarantine ./ai-memoryonce. A curl download does not.Terminal mkdir -p ~/Applications/ai-memory && cd ~/Applications/ai-memory curl -fsSL -O https://github.com/akitaonrails/ai-memory/releases/latest/download/ai-memory-macos-aarch64.tar.gz tar -xzf ai-memory-macos-aarch64.tar.gzCreate the data directory and start the server
Leave
serverunning in this terminal. The launchd agent starts it at login instead.Terminal ./ai-memory init ./ai-memory serve --transport http --bind 127.0.0.1:49374Wire your agent from a second terminal
Keep the extracted binary where it is, because the hook commands point at that path.
Terminal cd ~/Applications/ai-memory ./ai-memory install-hooks --agent claude-code --apply ./ai-memory install-mcp --client claude-code --apply
Install the wrapper script
The wrapper is a small shell script that lands in
~/.local/bin/ai-memory. The README has the install script, which checks the download against its SHA-256 file before installing it. Copy it from there.Start the server
The image covers
linux/amd64andlinux/arm64. On a Podman host, replacedockerwithpodman. The wrapper uses rootless Podman on its own when Docker is not installed.Terminal docker run -d --name ai-memory \ --restart unless-stopped \ -p 127.0.0.1:49374:49374 \ -v ai-memory-data:/data \ docker.io/akitaonrails/ai-memory:latestWire your agent
After this, start Claude Code as usual. This path has one limit: the wrapper’s shell hooks do not enforce per-repository
ignore_pathscapture rules. The native binary does.Terminal ai-memory install-mcp --client claude-code --apply ai-memory install-hooks --agent claude-code --apply
Decide where your agent runs
An agent launched inside WSL2 needs ai-memory inside WSL2. That path is supported and is the same as the Docker tab: install the wrapper from the README in your WSL2 shell. With Docker Desktop, enable WSL integration for the distro first.
Start the server inside WSL2
Terminal docker run -d --name ai-memory \ --restart unless-stopped \ -p 127.0.0.1:49374:49374 \ -v ai-memory-data:/data \ akitaonrails/ai-memory:latestWire your agent, also inside WSL2
Native Windows is experimental. It has a release zip with
ai-memory.exe, a PowerShell Docker wrapper and a WinSW service recipe. The Windows guide has all three.Terminal ai-memory install-mcp --client claude-code --apply ai-memory install-hooks --agent claude-code --apply
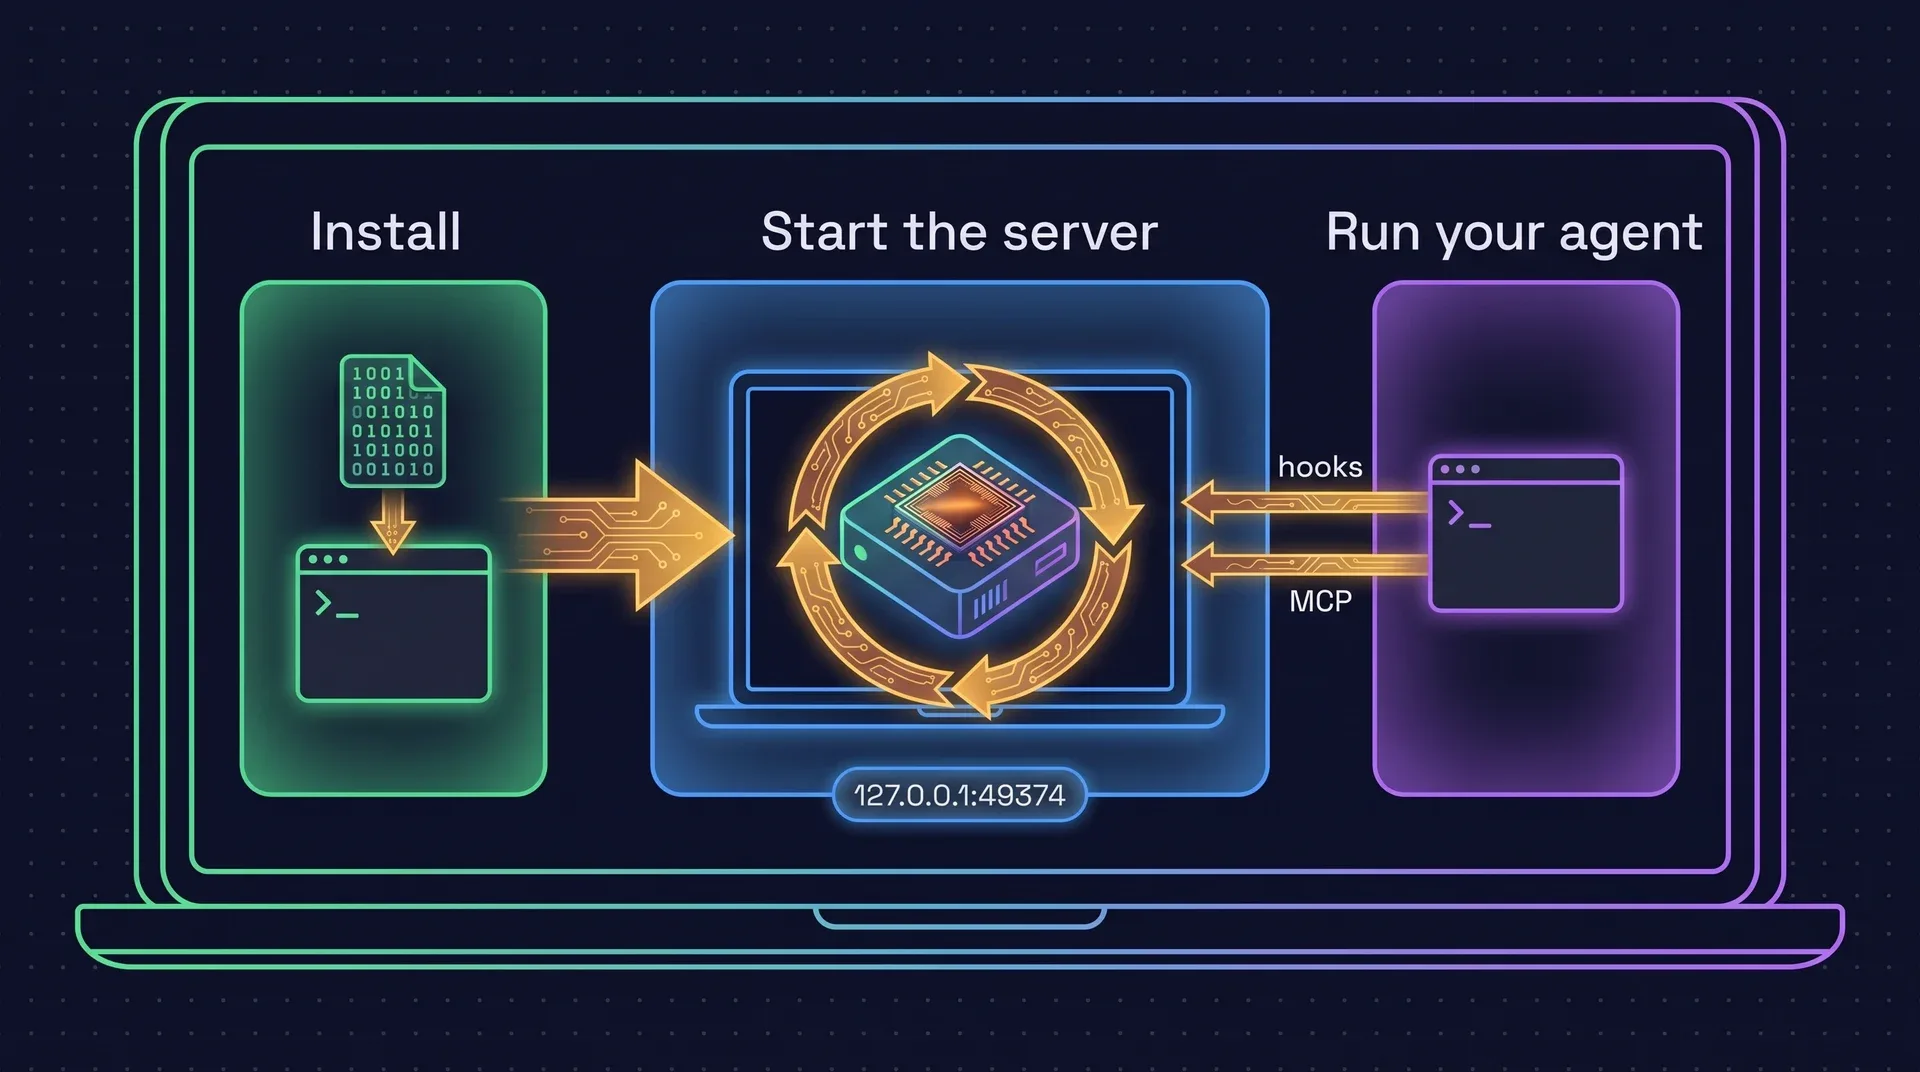
ai-memory run is the recommended launcher and it is optional. It wires a harness on first launch and adds native session resume across harnesses. Hooks alone already carry the handoff, so launching your agent directly keeps working. Read how managed launches work.
Check that it works
Three checks, from the network up to the agent.
The server answers
A JSON-RPC error is the right answer. It means the port is reachable and the server is responding.
curl http://127.0.0.1:49374/mcp
The CLI reaches it
The CLI is a thin HTTP client. If this prints a status, hooks can reach the server too.
ai-memory status
The agent remembers
Work for a few minutes, quit, and open a second session in the same directory. Then ask it:
“Where did we leave off?”
After the first agent
All three are optional. Do them when you need them.
Add another agent
Run the same two commands with a different name. Both agents then share one project memory.
ai-memory install-mcp   --client codex --apply
ai-memory install-hooks --agent  codex --apply
Optional: better summaries with an LLM
Without a provider, capture, search and rule-based summaries all work at no cost. A provider rewrites session pages as readable narratives. Set these two variables in the server’s environment (-e flags for Docker, ~/.config/ai-memory/env for the systemd user service) and restart it.
AI_MEMORY_LLM_PROVIDER=anthropic
ANTHROPIC_API_KEY=sk-ant-...
Undo everything
This removes only what ai-memory installed. Install commands are idempotent, and each one writes a timestamped backup next to any file it touches.
ai-memory uninstall --apply
My team
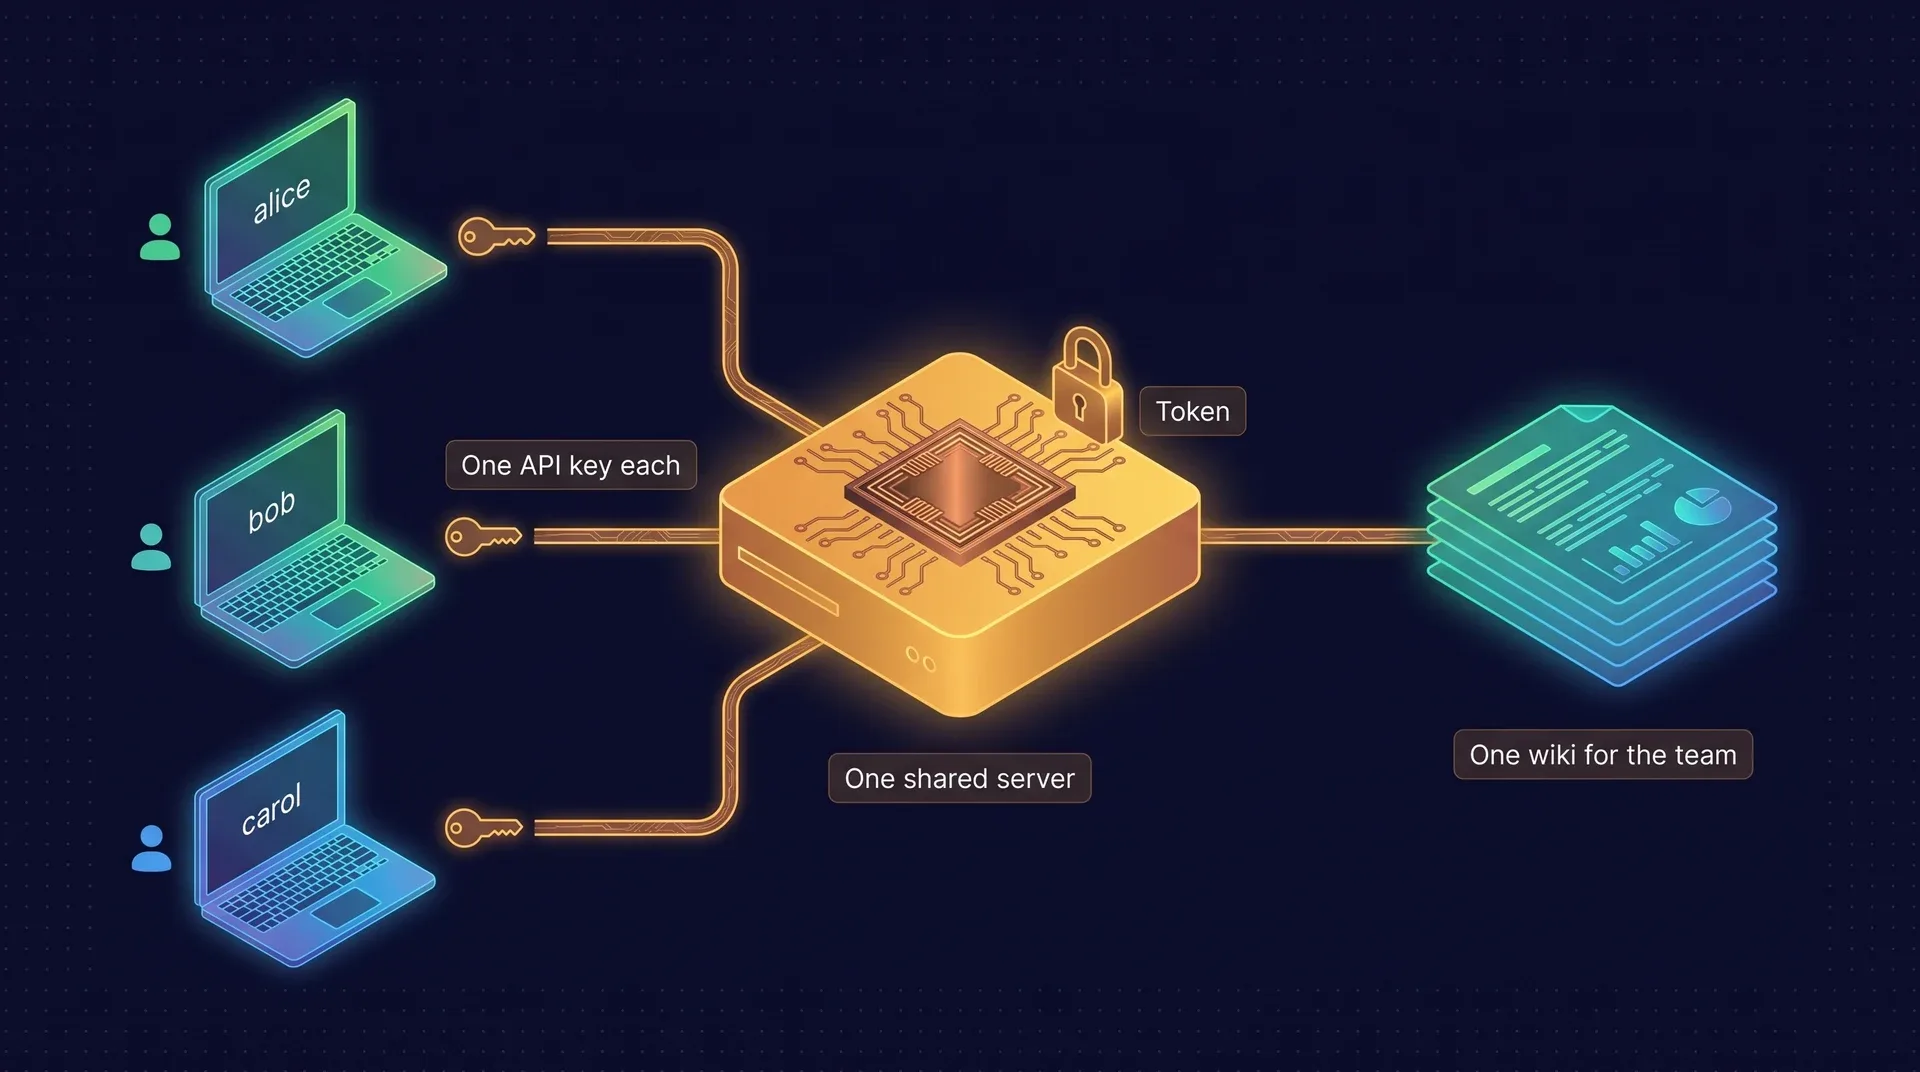
One server that every machine and every teammate reaches. There is no replication between servers: shared memory means everyone connects to the same one.
Start the shared server with a token
Pick a homelab box or any LAN host. A server bound beyond loopback needs both a bearer token and a host allowlist. The allowlist holds every name or IP your machines use to reach it.
on the server TOKEN=$(ai-memory generate-auth-token) docker run -d --name ai-memory \ --restart unless-stopped \ -p 0.0.0.0:49374:49374 \ -v ai-memory-data:/data \ -e AI_MEMORY_AUTH_TOKEN="$TOKEN" \ -e AI_MEMORY_ALLOWED_HOSTS="<server-ip>,localhost,127.0.0.1" \ akitaonrails/ai-memory:latestCreate the people
Run this with the root token exported. The temporary password prints once, and the person changes it at first login. It does not issue an API key. The users guide covers the root identity in
[auth].Terminal ai-memory user add-human --username alice --email alice@home --name "Alice Smith"Give each person an API key
The
aim_secret is shown once.ai-memory api-key rotate <id>andai-memory api-key revoke <id>take effect immediately.Terminal ai-memory api-key add --username alice --label codex-laptopPoint each machine at the server
Each person uses their own key as the token. It is stored in a
0600file in the data directory and stays off the hook command line.--as-useronly labels the install.on every laptop # TOKEN here is this person's aim_ key, not the root token export AI_MEMORY_SERVER_URL="http://<server-ip>:49374" export AI_MEMORY_AUTH_TOKEN="$TOKEN" ai-memory install-mcp --client claude-code --apply ai-memory install-hooks --apply --agent claude-code \ --as-user alice --auth-token aim_XGq...<secret>Add TLS before leaving the LAN
A bearer token authenticates a request and does not encrypt it. Keys and web cookies travel in the clear over plain HTTP, so put Caddy, nginx or a Cloudflare Tunnel in front once accounts exist or the server is reachable beyond your desk.
Stuck on a step?
The install cookbook on GitHub has the per-agent commands, remote servers and Windows. The issue tracker is open.